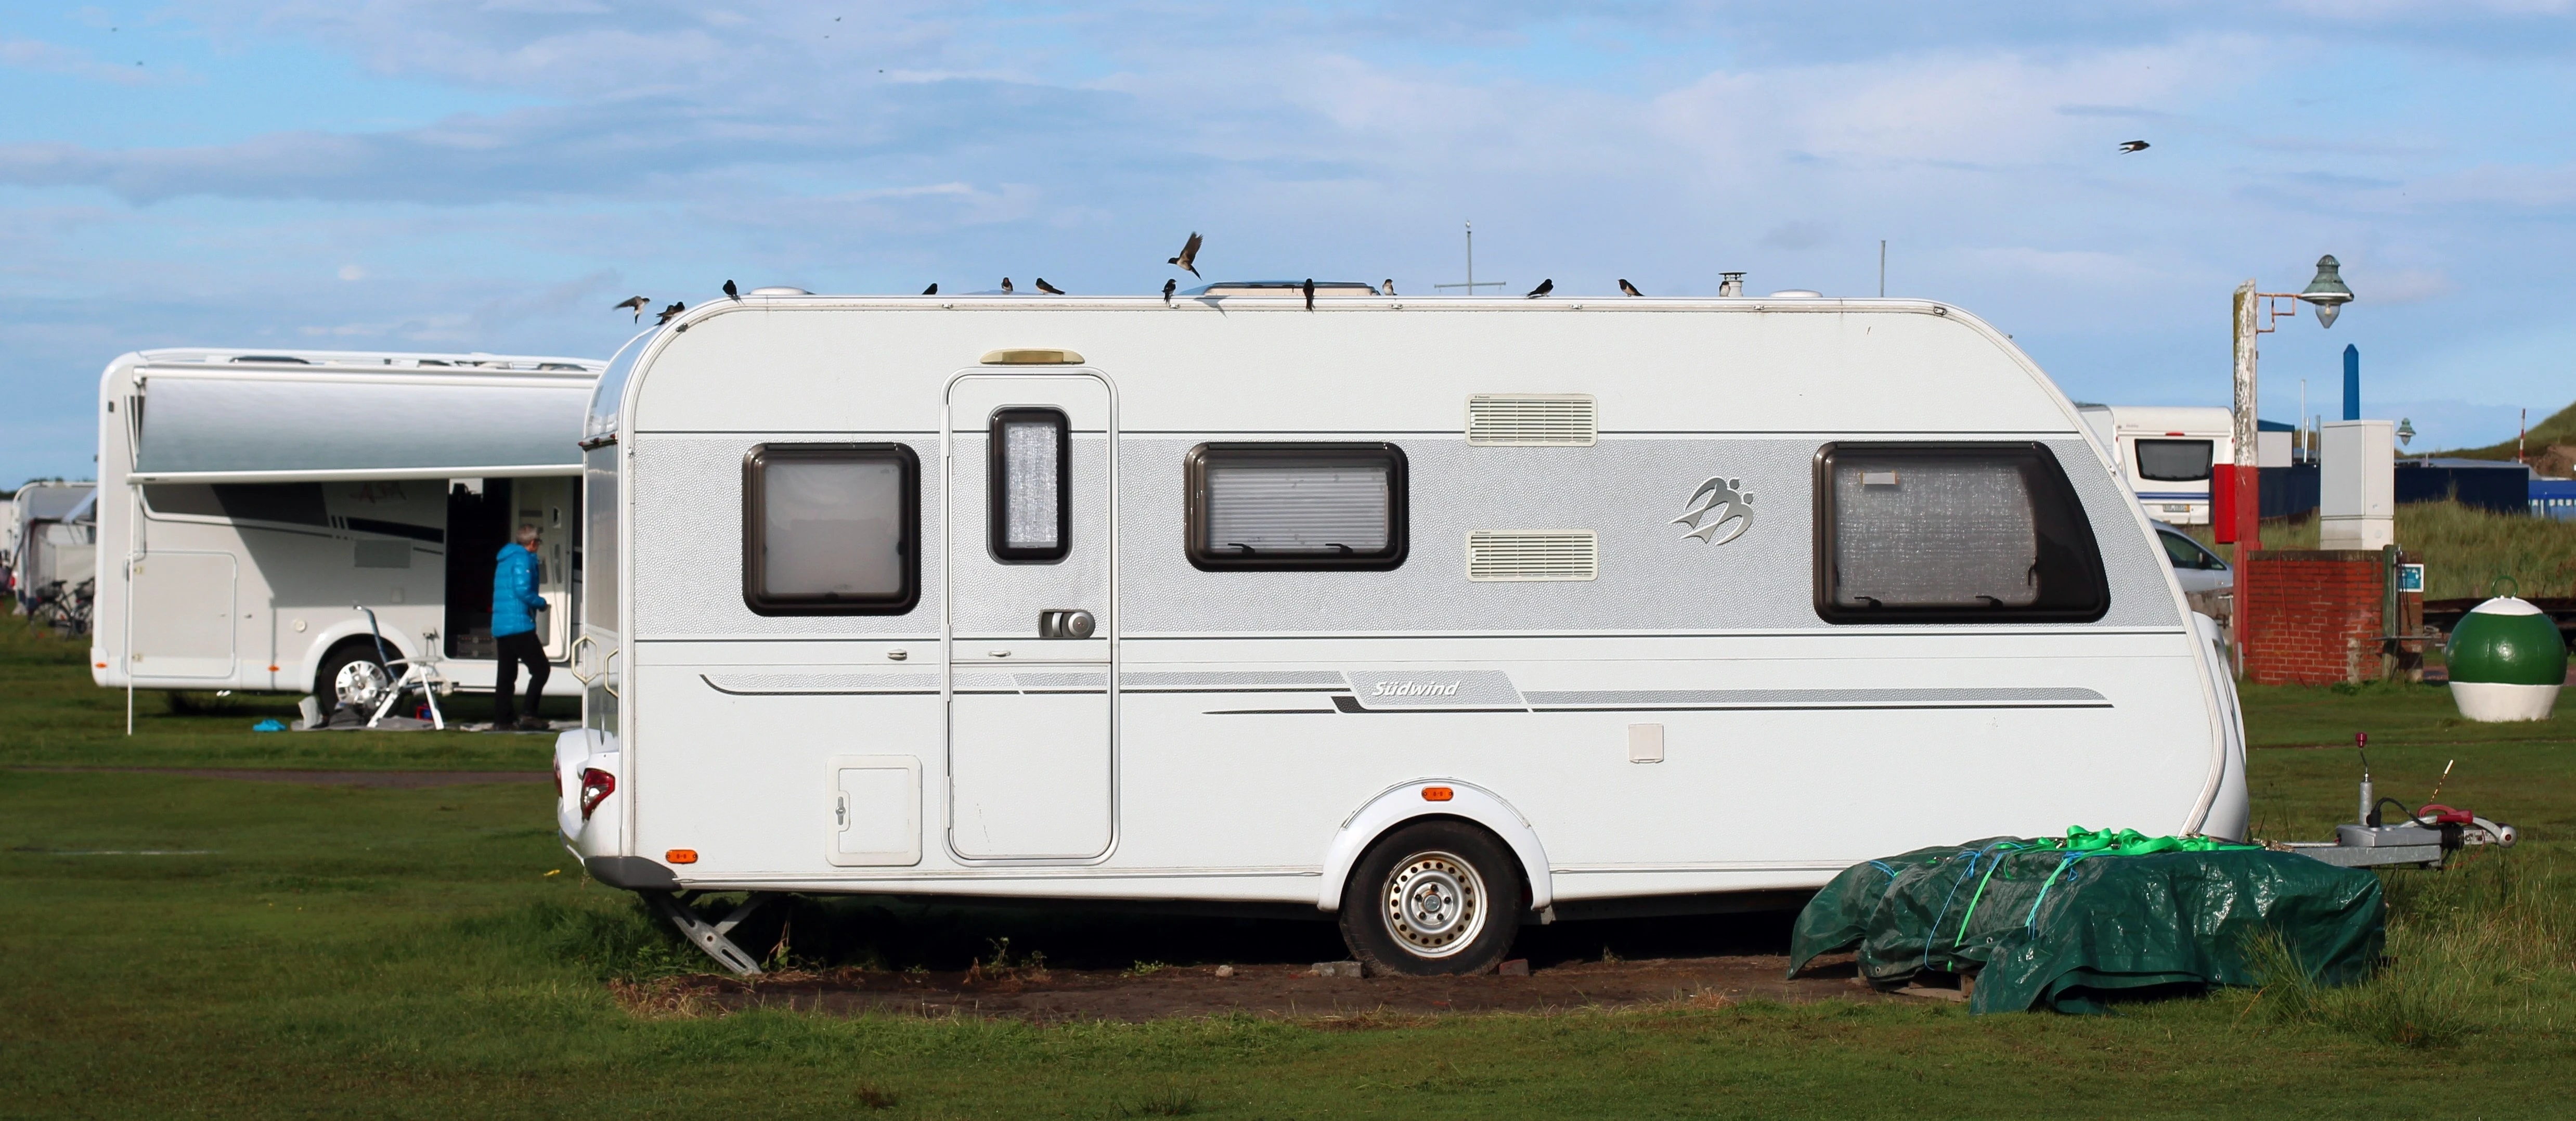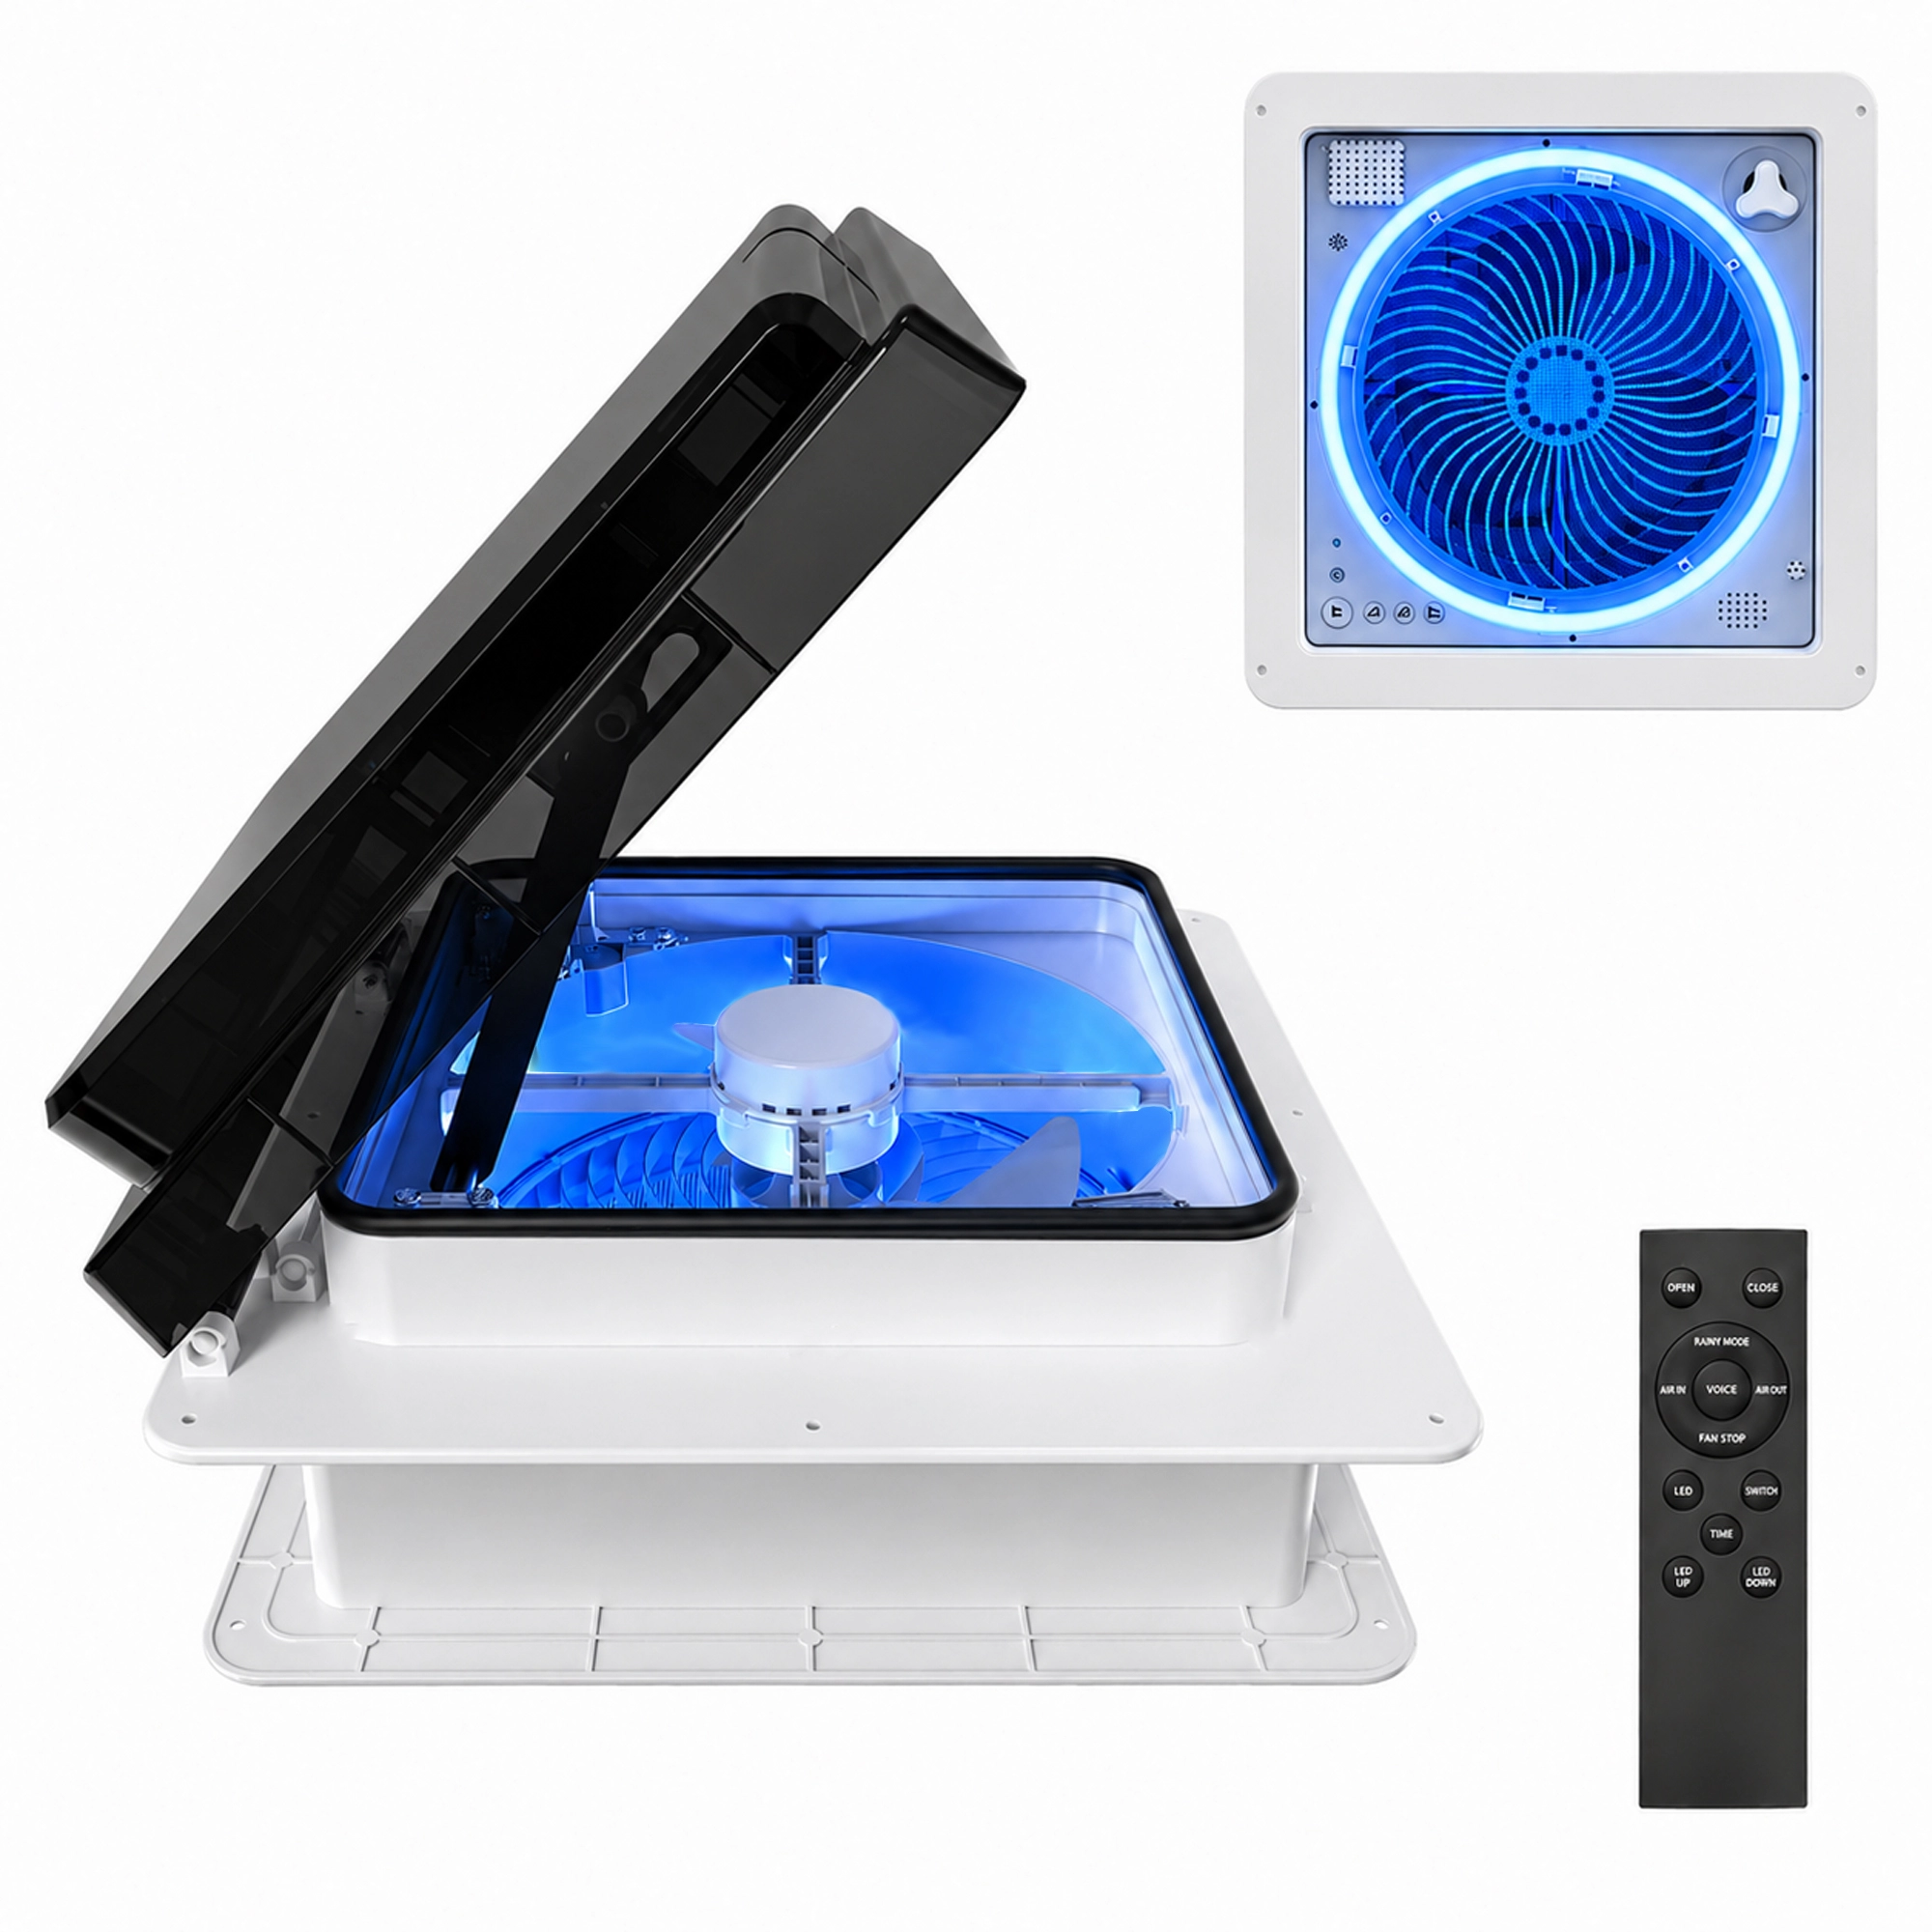
If your RV's roof vent fan has seen better days—rattling loudly, moving little air, or simply giving up—replacing it is one of the most rewarding DIY projects you can tackle. A new exhaust fan can transform your rig from a stuffy box into a comfortable living space. Here's how to do it right.
What You'll Need
Before climbing onto the roof, gather your tools: denatured alcohol or mineral spirits, clean rags, screwdrivers, wire cutters, wire connectors, a putty knife or scraper, a pry bar, a caulk gun, and a heat gun. For materials, you'll need rustproof screws (often included with new fans), butyl tape, self-leveling lap sealant, and your replacement fan.
Before You Start
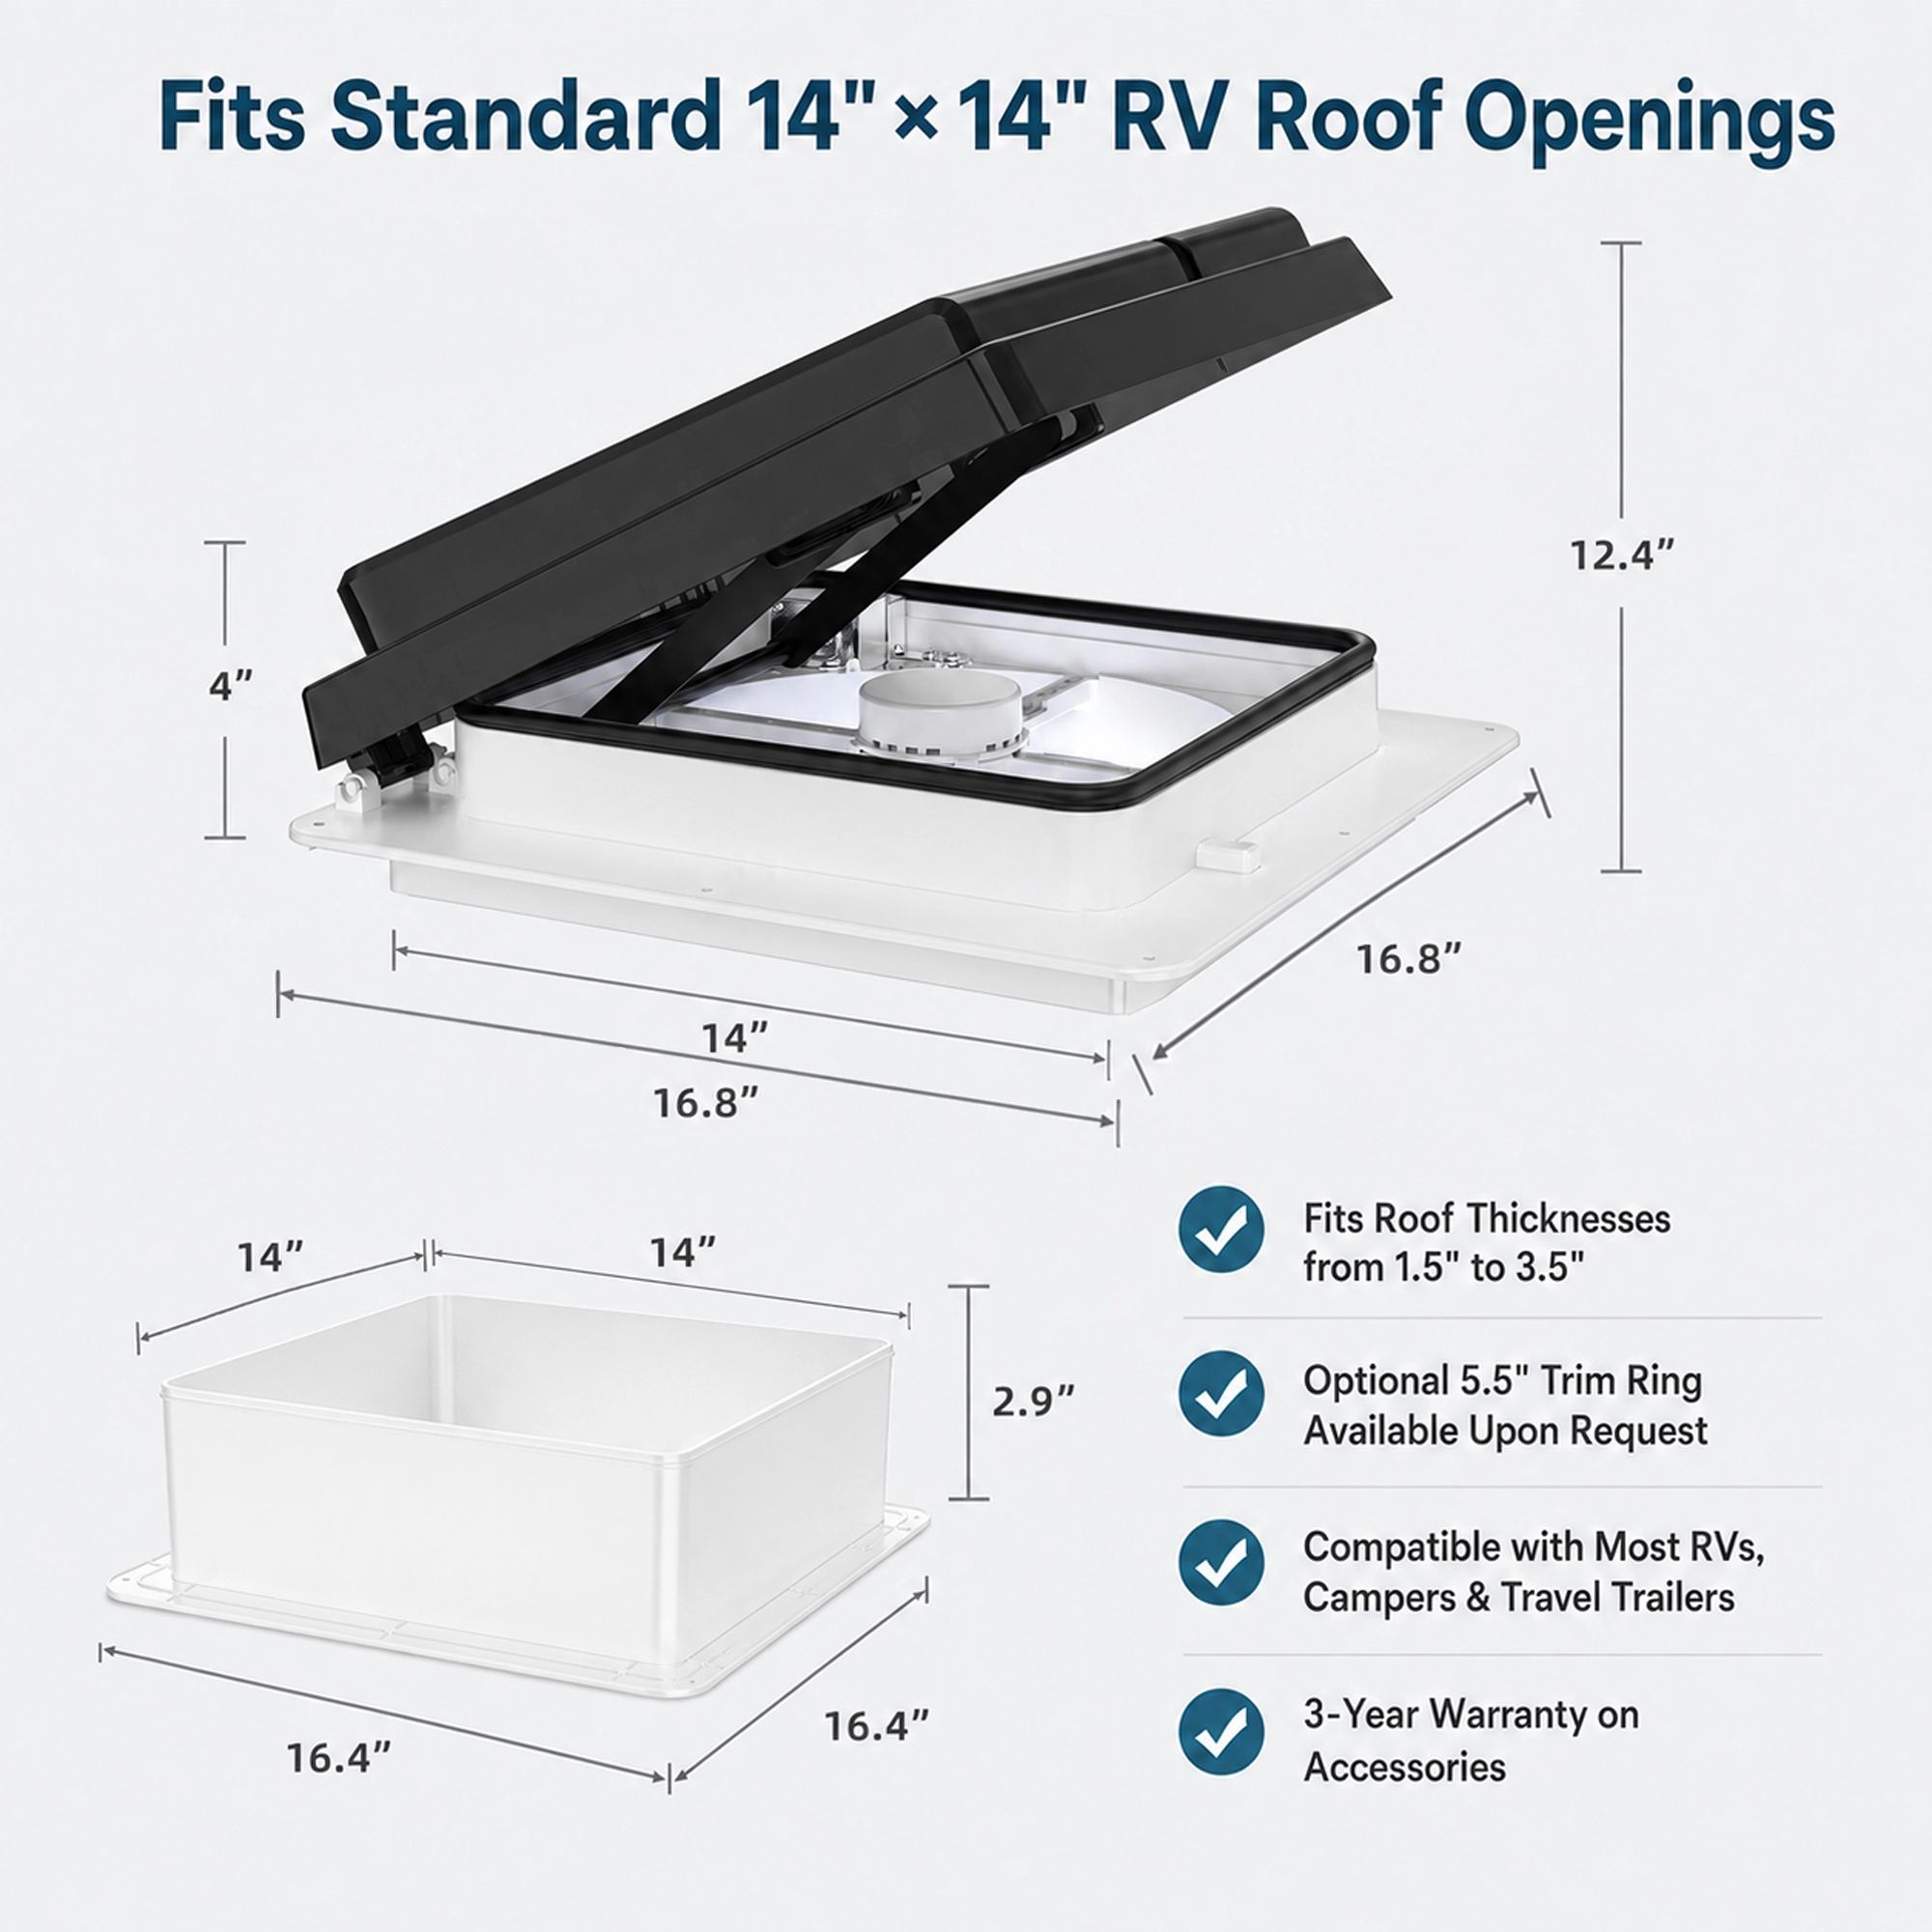
Ensure your replacement fan is compatible with your RV's 12-volt wiring system and matches the size of the opening—most RVs use the industry-standard 14" x 14" cutout. Read the manufacturer's installation guide thoroughly before beginning any work. Check the weather forecast too—cleaning up old sealant takes time, and you'll have an open hole in your roof until the job is done.
Remove the Old Fan
Step 1: Disconnect Power. Turn off the 12-volt power to the fan, unplug from shore power, disconnect the generator, and remove the battery terminals. Safety first.
Step 2: Remove the Interior Beauty Ring. Inside the RV, unscrew and remove the ceiling beauty ring. Cut or disconnect the wires leading to the old fan, leaving enough wire to connect the new one. Cap the exposed wires with wire nuts or electrical tape.
Step 3: Remove the Fan from the Roof. Carefully climb onto the roof. Use a putty knife or scraper and pry bar to remove the old lap sealant around the mounting flange—a heat gun can soften stubborn sealant. Once the sealant is cleared, remove all screws securing the vent. Pry between the vent flange and the roof to break the final seal, then lift the old unit out.
Step 4: Clean the Installation Area. Thoroughly clean the roof surface around the opening. Remove all old sealant and butyl tape, then clean with denatured alcohol or mineral spirits to ensure new sealant has a clean surface to bond with.
Install the New Fan
Step 5: Place the Fan. Apply an unbroken strip of new butyl tape to the underside of the mounting flange, ensuring it covers all screw holes. Position the fan with the hinge oriented toward the front of the RV to prevent wind damage while driving. Remove the paper backing from the tape and lower the new vent fan into the opening.
Step 6: Secure the Fan. Press the flange firmly against the roof to engage the butyl tape, then drive new rustproof screws through the flange.
Step 7: Seal and Wire. Apply self-leveling lap sealant around the entire perimeter of the flange. Inside, reconnect the wiring following the manufacturer's diagram, then reinstall the beauty ring. Test the fan before sealing up completely.
Take your time with the sealing—a proper waterproof seal is the difference between a successful upgrade and a leaky disaster.